Step-by-Step: The Construction Milestones You Should Know

Pre-Construction
Before any dirt is moved, essential planning happens behind the scenes. Architectural plans are finalized, permits are secured, and the site is prepped for work. This stage may include soil testing, site surveys, utility planning, and setting up the construction schedule. Though largely administrative, this phase lays the foundation—both literally and logistically—for a successful build.


Foundation
Depending on the design, this may involve pouring a slab or building a basement. Plumbing lines or electrical conduits are installed beneath the foundation before it cures. Proper moisture barriers and structural inspections ensure long-term stability and integrity from the ground up.


Framing
This is where the structure starts to come alive. Walls, floors, and roof systems are built, giving the home its shape. You’ll begin to see room layouts and walk the floor plan in person. Framing is carefully inspected to meet code and structural standards before moving forward.


Rough-Ins
Once the frame is in place, electricians, plumbers, and HVAC professionals install the systems behind the walls—wiring, outlets, pipes, and ductwork. These installations are reviewed to ensure safety, performance, and compliance with building codes.


Insulation & Drywall
To keep the home comfortable and energy-efficient, insulation is installed based on regional requirements. Drywall follows, with taping, mudding, and sanding to create smooth surfaces. At this point, the home starts to feel more finished and functional.


Interior Finishes
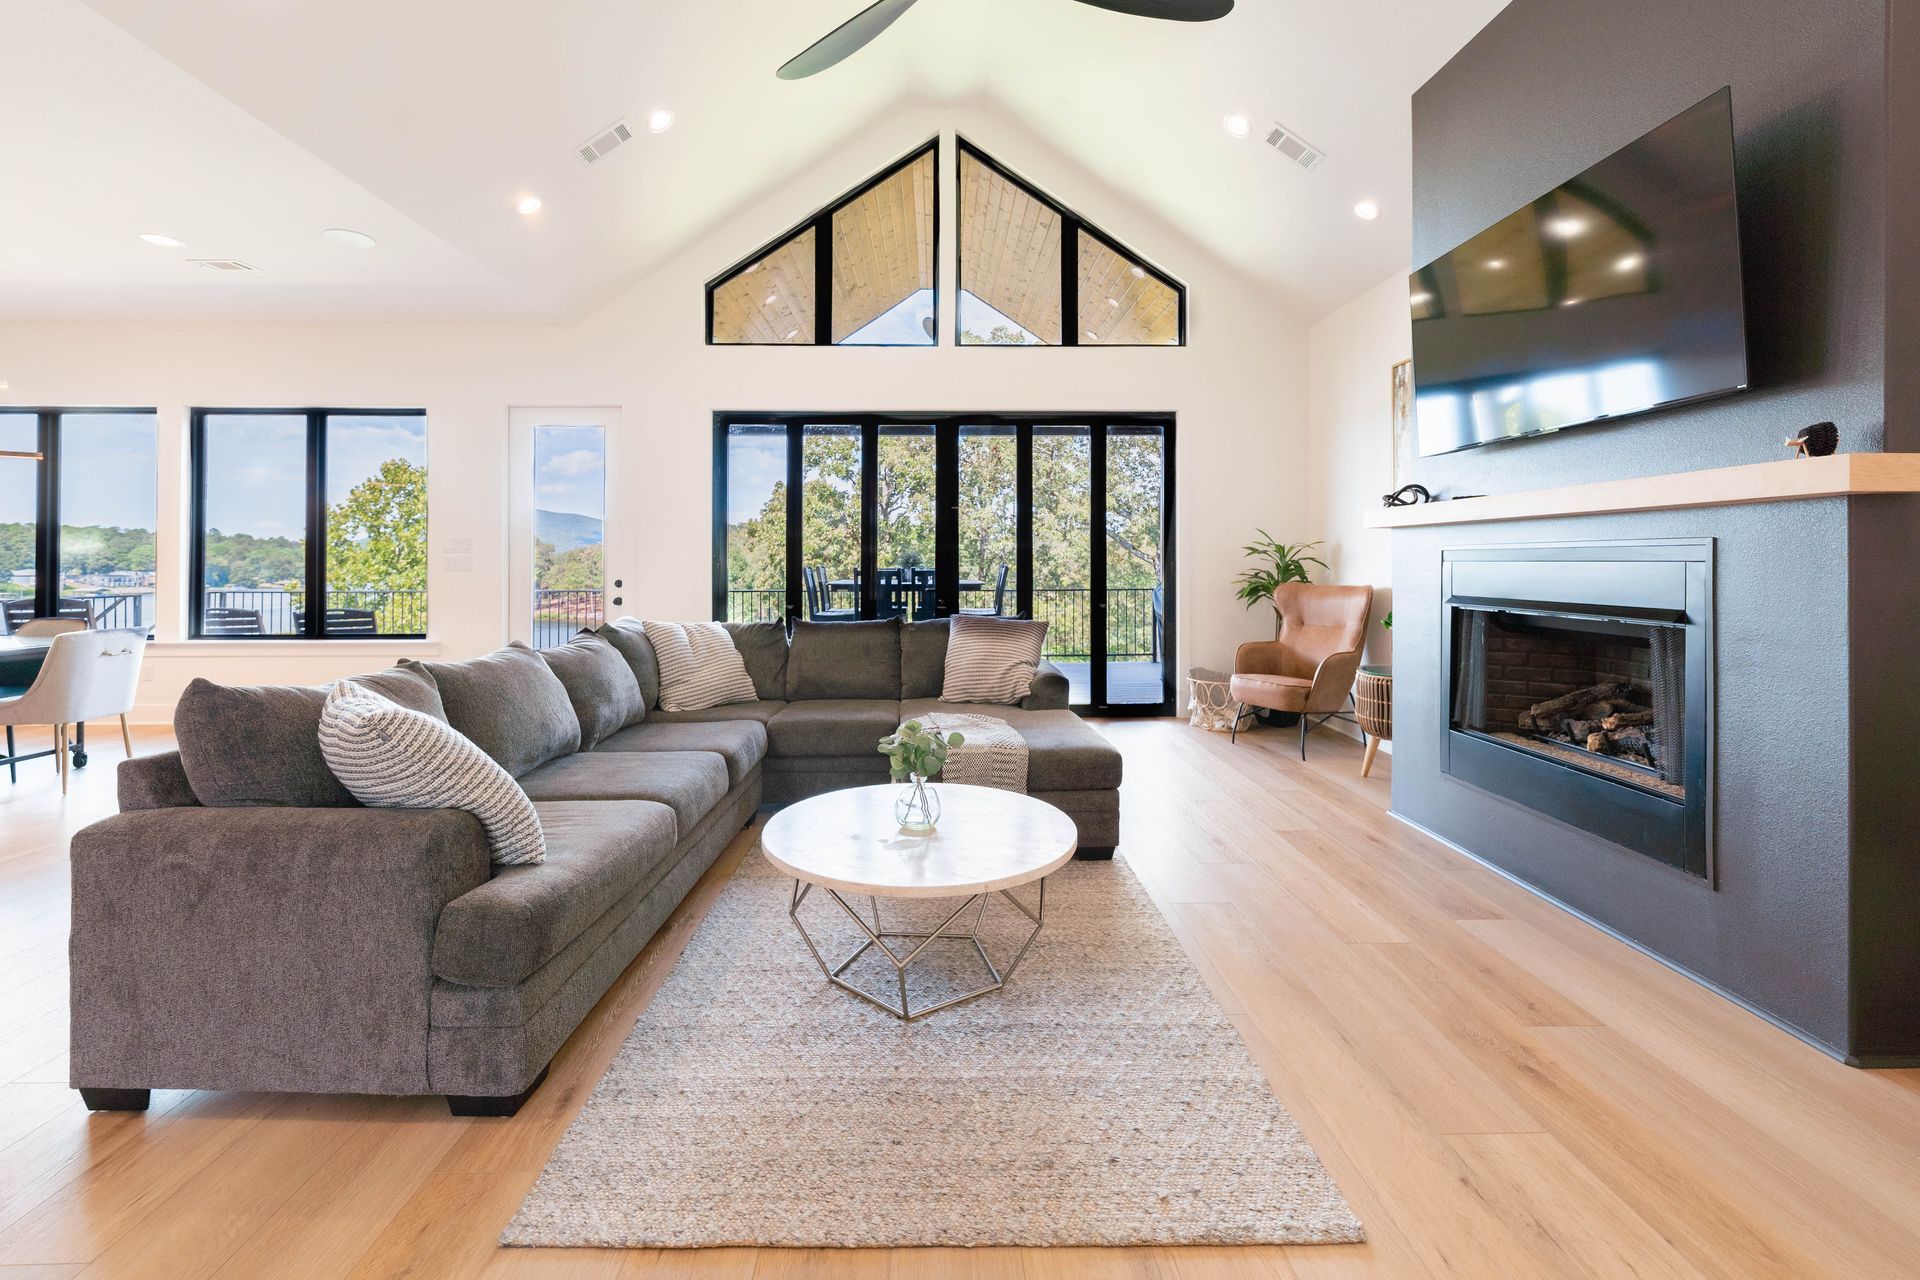
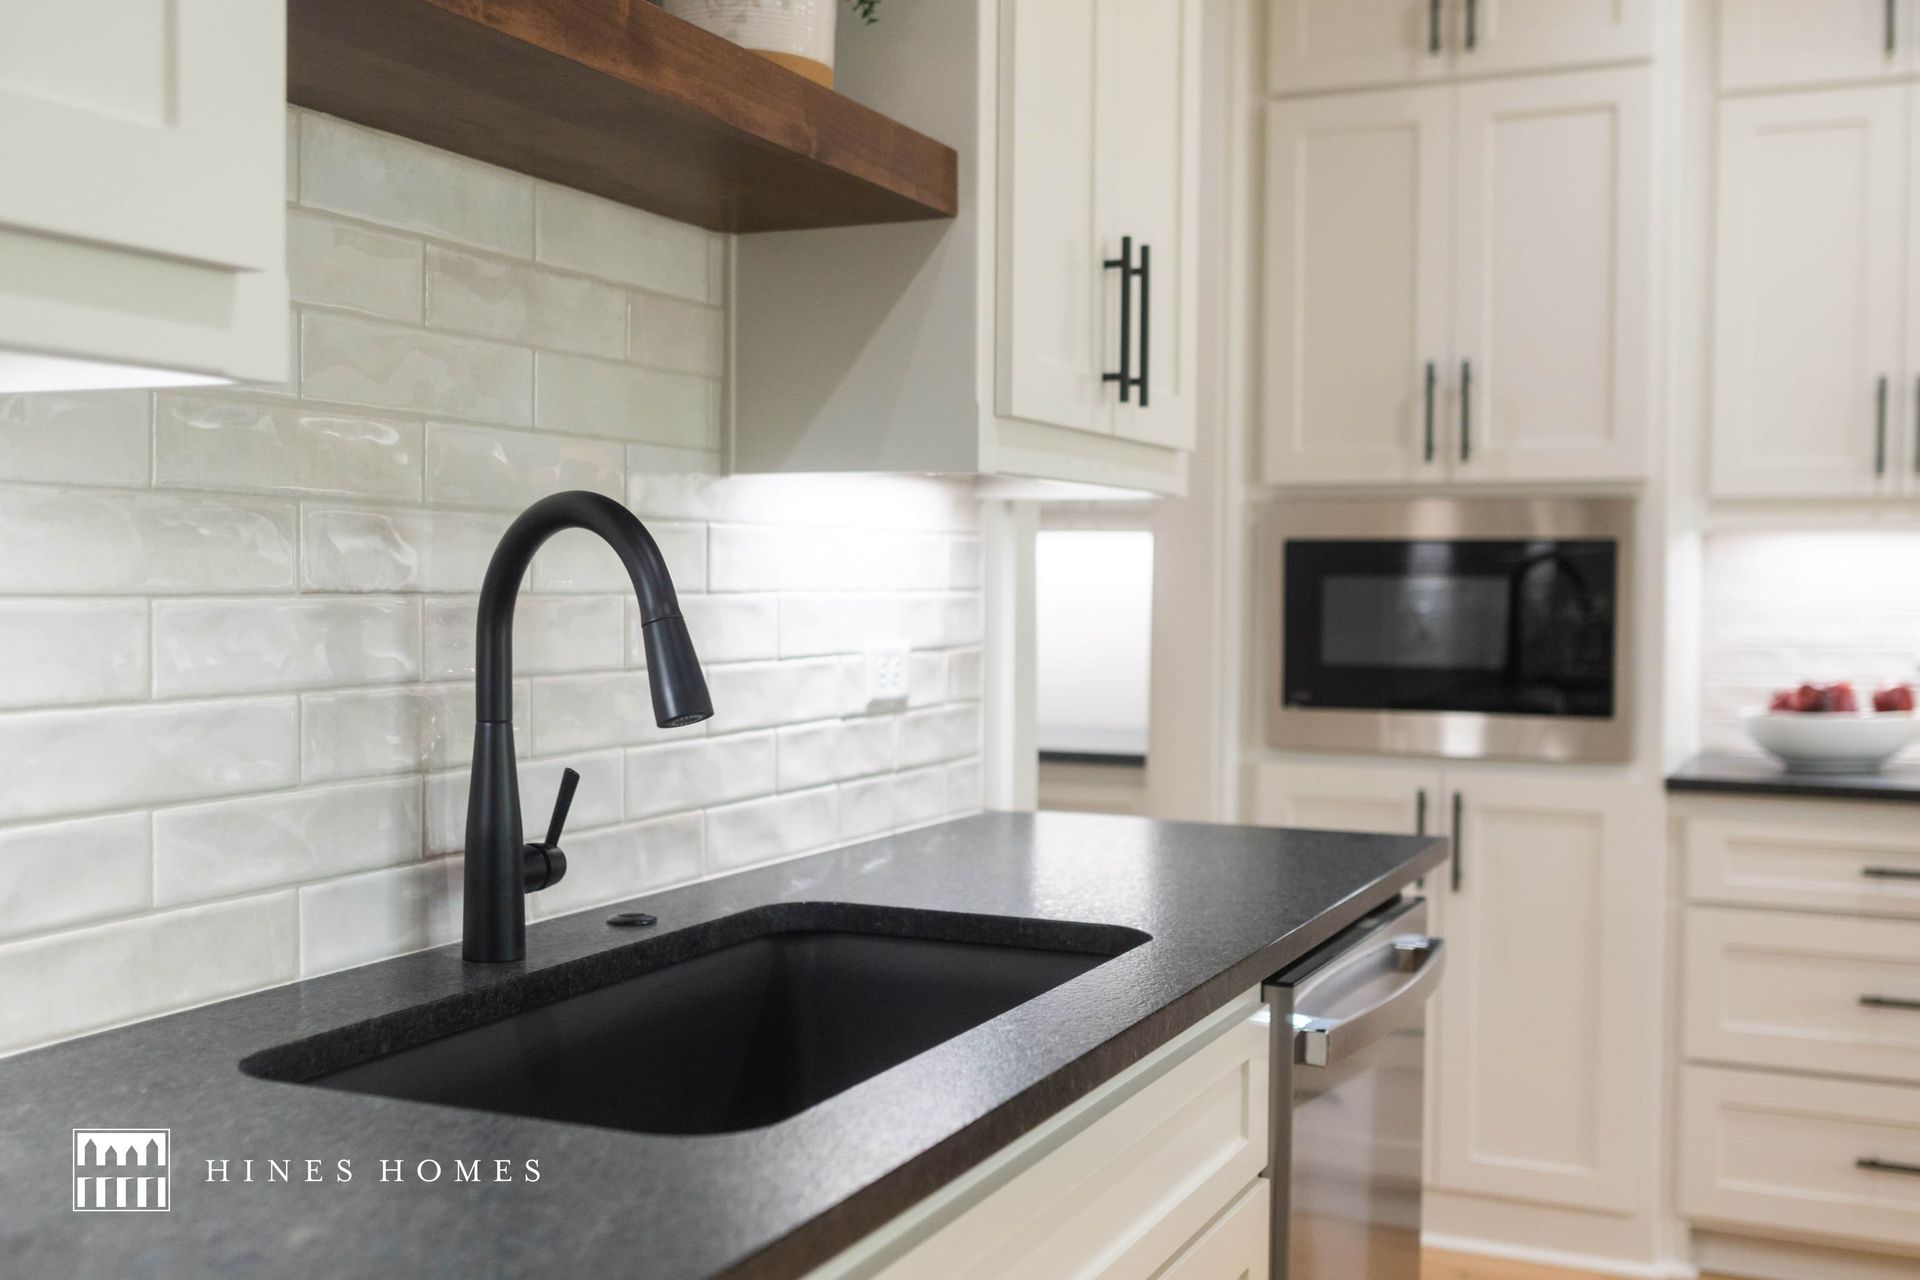
This is the stage where the design vision becomes reality. Flooring, tile, cabinetry, countertops, and trim are installed. Paint colors are applied, and the home’s personality begins to shine through with each chosen finish.


Fixtures & Appliances
Lighting fixtures, plumbing faucets, doorknobs, and appliances are installed with care. These final details bring both function and polish to the interior. Quality checks are conducted to ensure everything works as expected and aligns with the original plans.


Final Touches
The exterior is completed with landscaping, sidewalks, and driveways. A final walk-through creates a detailed punch list for any last adjustments. At the end of this phase, the home is move-in ready—and everything is double-checked for quality and satisfaction.


What to Expect Along the Way


A clear timeline is just part of the process—open communication makes the experience smoother and more enjoyable. Homeowners are kept informed at every step with:


  • Weekly updates and photo progress reports
  • On-site walkthroughs at key construction milestones
  • Clear notice of delays, change orders, or decisions needed


Being informed and included helps turn the construction process from overwhelming to empowering.


From the first draft of your floor plan to the day you unlock your front door, knowing the stages of construction helps make the journey feel less stressful and more exciting. When the timeline is clear and communication is consistent, the result is more than just a house—it’s a home you helped shape from the ground up.

Share

By Kaley Price July 16, 2026
Building Opportunities Through Arkansas Learning Network
By Kaley Price July 16, 2026
Creating a Life Without Limits with Achieve Community Alliance
By Taylor Hunt April 24, 2026
Hines Homes Supporting Paws for Prison
By Taylor Hunt March 20, 2026
Hines Homes Supporting AR Game & Fish Commission
By Taylor Hunt February 13, 2026
Hines Homes Supporting Project Zero
By Taylor Hunt January 30, 2026
Hines Homes Supporting AR Hunger Relief Alliance
By Taylor Hunt December 26, 2025
This is a subtitle for your new post
By Taylor Hunt December 19, 2025
Hines Homes Supporting Haven Conway
By Taylor Hunt December 19, 2025
Building a custom home starts long before the first foundation is poured. One of the most important early steps is finding and buying the right piece of land. Whether you're dreaming of open acreage, a wooded lot, or a spot in a quiet neighborhood, the land you choose will shape everything from your floor plan to your utilities. If you’re new to the process, don’t worry—this guide breaks down the basics of buying land for your custom home. 1. Know What You Can Afford Before you fall in love with a lot, understand how land fits into your overall budget. Your land cost will be separate from your home construction loan—but both need to be factored into your financing plan. Some buyers purchase land upfront in cash, while others roll it into a construction loan. It’s also important to consider the hidden costs of developing land: Clearing trees or debris Grading and drainage Driveway and access Septic system or sewer hookup Water lines, electricity, and internet 2. Choose the Right Location The old real estate saying holds true: location matters. Think about proximity to work, schools, grocery stores, and medical care. Do you want a quiet rural setting, or a lot in a growing neighborhood? Do you need a flat build site, or are you open to a sloped lot with a walk-out basement? Also check for: Zoning restrictions (residential, agricultural, etc.) HOA or POA regulations Nearby developments or planned road expansions 3. Check Land Access and Utilities Not all land is "build-ready." Some rural lots may not have access to city water, sewer, or electric services. Others might require a private well, septic tank, or propane. Ask: Does the land already have utility hookups? Is there road access? Are there any easements or shared driveways? What’s the soil quality (important for septic systems)? A custom home builder like Hines Homes can help assess whether a lot is viable—and what it will take to prepare it for construction. 4. Understand Local Building Requirements Before buying land, check with the local city or county to see what building permits, inspections, or restrictions apply. Some areas may have height limits, setback rules, or minimum square footage requirements. You’ll also want to find out: Is the lot in a flood zone? Are there any endangered species or environmental issues? What’s the timeline for getting permits approved? Doing this homework upfront can save you time, money, and stress down the line. 5. Get a Land Survey A land survey shows the exact boundaries of the property, as well as easements, utilities, and topography. It’s an essential part of due diligence before you close on any lot. If a recent survey doesn’t exist, you may need to order one yourself. A survey helps ensure you’re building within your legal boundaries—and that you won’t run into issues with neighbors or city inspectors during construction. 6. Work with the Right Team If this is your first time buying land or building a home, you don’t have to do it alone. Working with a knowledgeable custom builder can save you from costly mistakes and help you evaluate lots before you buy. At Hines Homes, we often walk lots with clients before they purchase, giving guidance on: Site grading and preparation Best house orientation (sunlight, views, wind) Utility placement Floor plan options based on the lot shape Final Thoughts Buying land is an exciting first step toward building your dream home—but it requires careful planning. By understanding what to look for and who to partner with, you can make confident decisions from the very beginning. 
By Taylor Hunt December 12, 2025
In the world of home design, it’s easy to get swept up in what’s trending—bold tile, statement colors, or the latest Pinterest craze. But when you're building a home meant to last for decades, it pays to focus on design choices that age well, not just look good today. Here’s how to create a custom home that stays beautiful, functional, and valuable year after year. Start with a Neutral Foundation While accent walls and colorful cabinetry have their place, a timeless home usually starts with a neutral palette. Think whites, warm beiges, soft grays, and natural wood tones. These shades make it easier to update décor without major renovations, appeal to future buyers if you ever sell, and keep spaces feeling clean, open, and classic. Invest in Quality Materials Durability is one of the clearest markers of timeless design. Hardwood flooring, stone countertops, solid wood cabinetry, and quality tile never go out of style. Not only do these materials look better with age, but they also hold up better under daily wear. Bonus: High-quality finishes are a big plus for resale value. Choose Classic Layouts Over Gimmicks An open-concept layout, dedicated entryway, practical kitchen triangle, and ample natural light will always make sense. Focus on flow and function instead of following fads like sunken living rooms or extra-small powder baths. Timeless design isn’t about being boring—it’s about creating a space that works for real life, now and 20 years from now. Keep Built-Ins Simple and Clean Built-in shelving, mudroom cubbies, and bathroom storage are all valuable features—but avoid ornate moldings or overly trendy shapes. Clean lines and intentional placement will always feel fresh and useful. Stick with Tried-and-True Lighting Fixtures Lighting is one of the easiest areas to go trendy—but also one of the fastest to feel dated. Try using timeless finishes like matte black, brushed nickel, or aged brass. Layer lighting (ambient, task, and accent) so it can evolve with your space and style. Add Personality Through Decor (Not Permanent Fixtures) Want to try the latest design trend? Bring it in through pillows, rugs, or curtains; paint or wallpaper in small doses; and art, hardware, or mirrors. These can be easily swapped out—unlike an entire backsplash or patterned floor tile you might regret later. Final Thoughts Trendy design can be fun, but timeless design is smart. At Hines Homes, we help clients blend both—so your home reflects your style while still standing the test of time.
More Posts